Start with what you need
Yuh planning for kids, cousins, or a crew that like sleep close but still want room fi gear—so start from them. Think about who move first in the morning, who want quiet at night, and who need a dry space for packs. Pick a layout that give a private nook and a communal space. If weight matter for the hike-in parent or one person scouting ahead, consider mixing a communal duplex body with a lighter solo option like a hiking tent ultralight for errands and emergency split the load.
Design choices based on real user needs
We talk plain: families want weather protection, quick set-up, and enough ventilation to stop breath-mist and toddler tantrums. Groups want modularity so one unit can stay up while others move. From years guiding small groups, I seen tents that fail when someone misjudge capacity or vestibule size. For actual field reference, thru-hike patterns on the Appalachian Trail show many hikers rely on a compact shelter system, especially when a partner swaps to an ultralight 1p tent for solo legs—that real-world choice proves a lightweight single complements a duplex well. I run gear tests at family camps and small multi-day trips; the picks below reflect that on-trail experience and after-night audits of condensation, seam stress, and entry traffic.
Common mistakes people make
People overload a single hub with too many bodies, then blame the tent. Don’t. Match tent floor area to sleeping pads plus a 12–18 inch buffer for gear. Another mistake: ignoring vestibule width. If you can’t sit and sort food without stepping outside, you’ll end up cooking under rain. Also, underestimating stakes and guylines—good ones stop a duplex turning into a kite in gusts. Finally, skip thinking "one size fits all"; kids grow, seasons change, and your tent choices should flex with that.
Quick comparisons so you pick faster
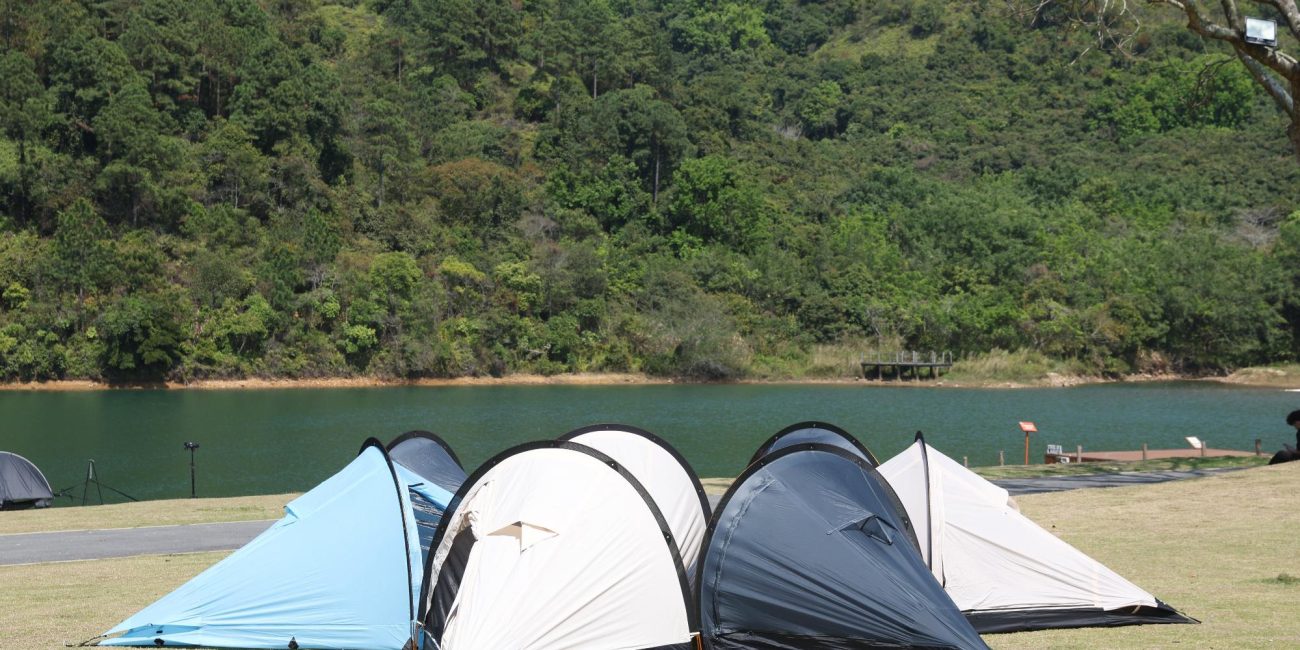
Duplex (twin hubs) — great for privacy and multiple entry points. Weight: moderate. Best when group needs separate sleeping zones. Tunnel/cabin — more open living space, faster set-up, bigger wind profile. Weight: heavier. Solo ultralight — tiny, fast, low-profile. Pair it with a communal duplex and you balance weight and comfort. Use these quick lines to decide: want separate bedrooms? Duplex. Want a big common area? Cabin. Want to trek light and still have backup shelter? Solo ultralight.
 What to prioritize when you shop
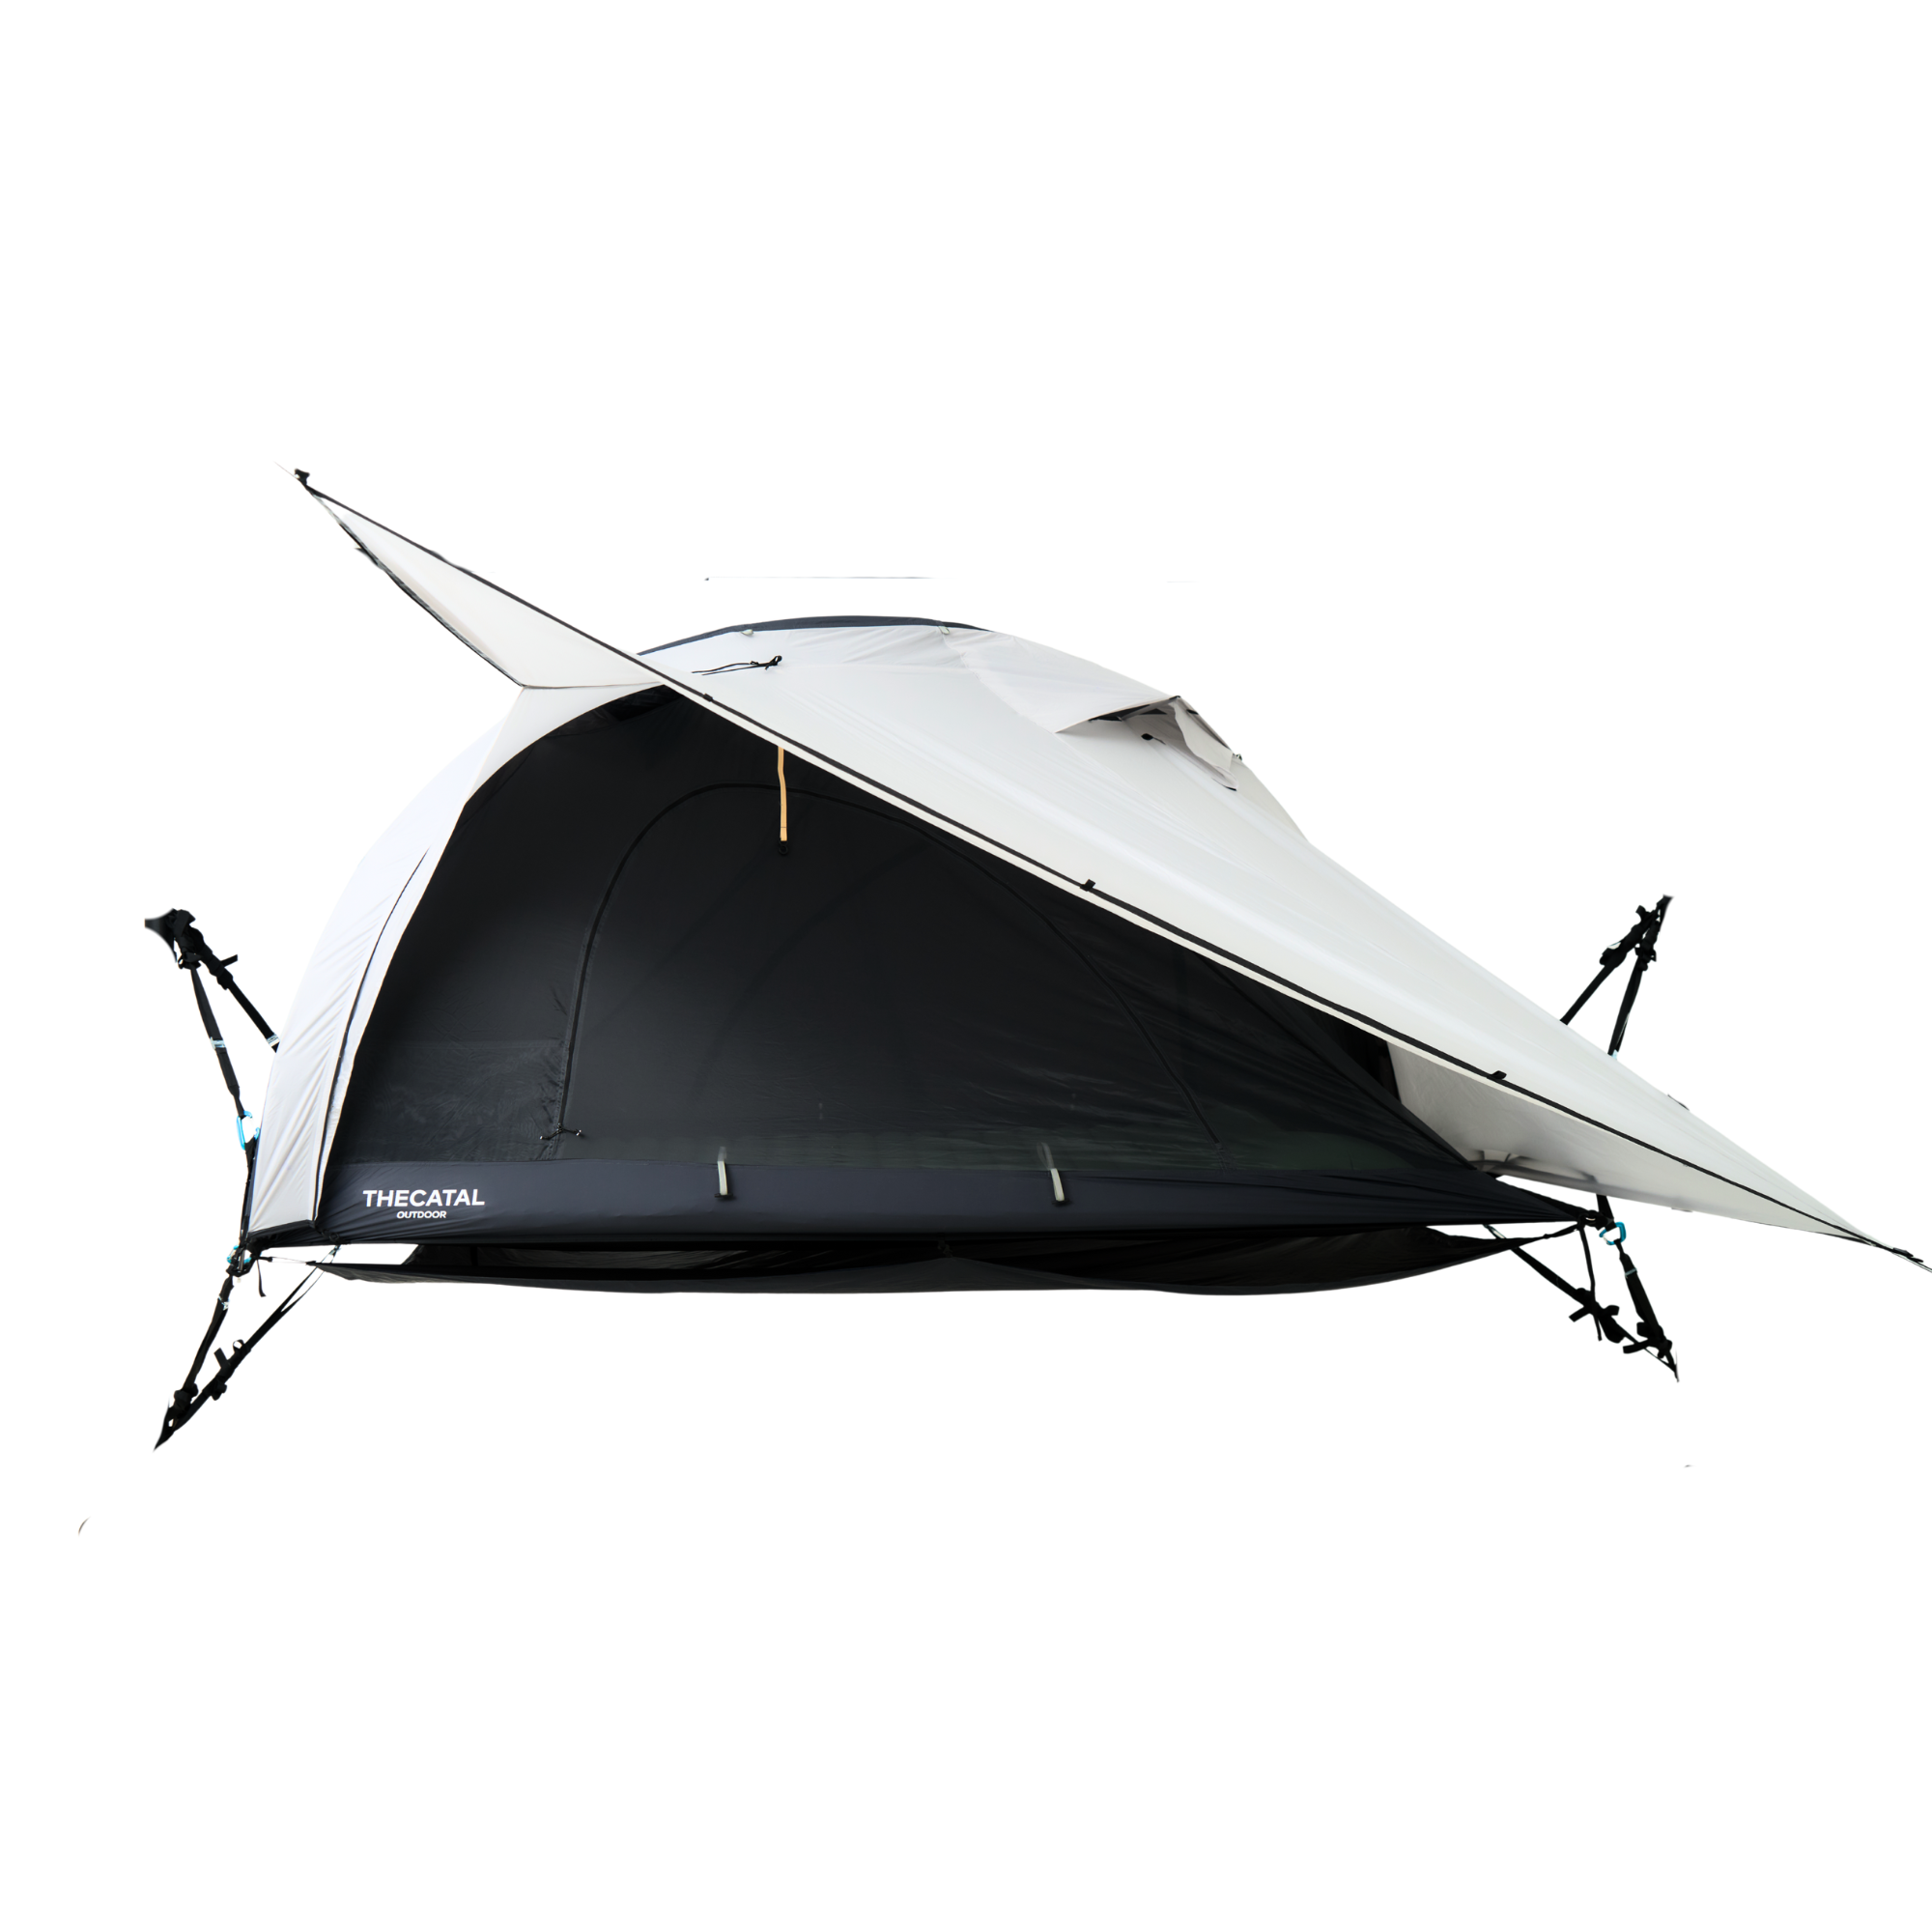
Materials first: durable floor and reinforced seams where people sit or step. Venting next: mesh panels and adjustable fly vents cut condensation. Vestibules: measure them with your packs. Stakes and guylines: replace flimsy kit with steel or decent alloys. Check setup time—if a parent can pitch it solo in under ten minutes, that’s a win. Durability beats fancy features when kids test the seams. Ask about repair kits and customer support; that’s how you know a brand stands behind gear.
Final shape of the solution
Pick a duplex layout that gives private sleeping pods and a shared middle for cooking or hanging wet clothes. Add a solo ultralight shelter for scouting, late arrivals, or to split weight. These choices come from watching real families and small groups on trail and at basecamp, and from testing gear across wet nights and windy ridgelines. When you want that balance between comfort and carry, consider the practical options I mention and compare specs against real use. For straightforward gear and choices that match how people actually camp, look through what THECATAL offer and match the tent to how your crew moves and rests.